How we paint a front door: no.2

The second in our series of detailed posts on preparing and painting a front door to a high standard — read them for inspiration and guidance, or to gain an insight into our working methods.


Previously…

In the first post, we covered prepping, filling, sanding, cleaning and priming. Let’s continue with the work…


Step 4

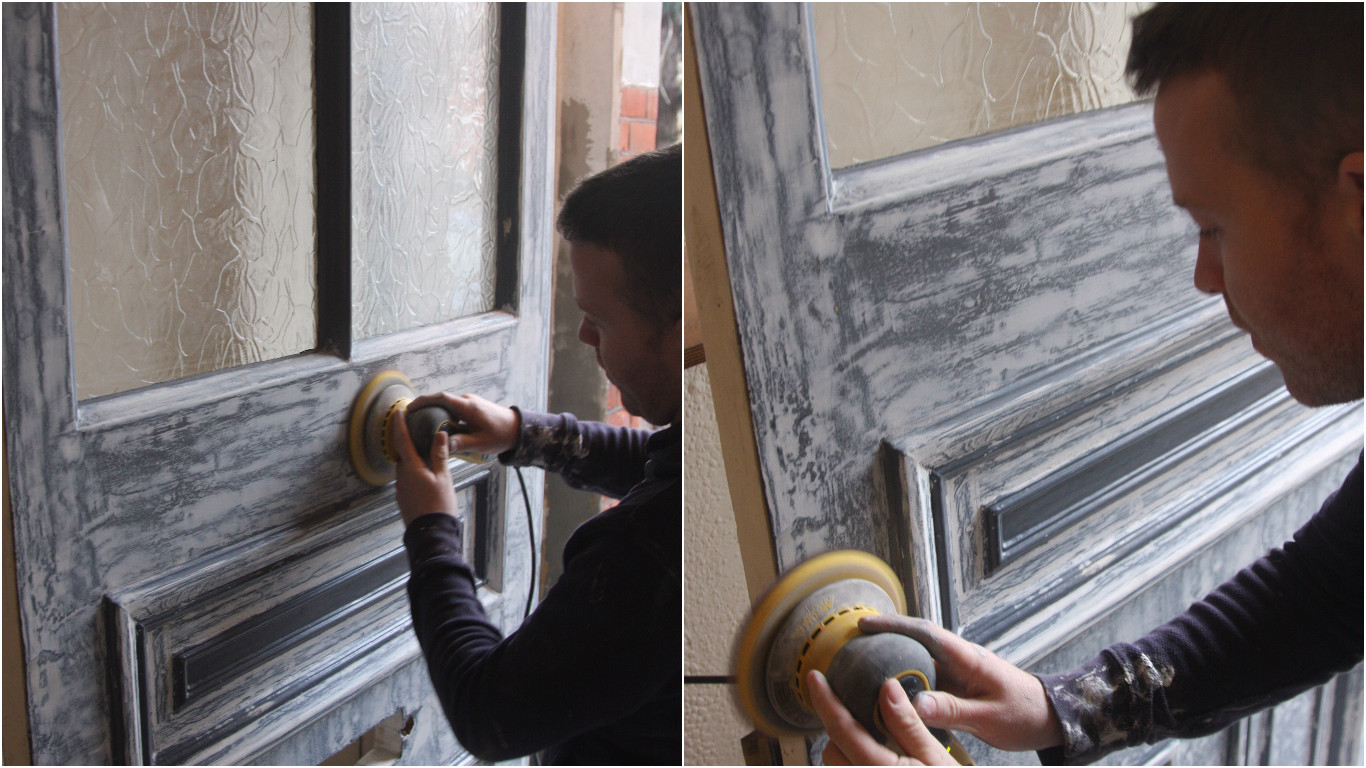
With the door prepped, filled and primed it is now time to spot-fill the primed surface, filling any small dings which were missed in the initial preparation.

Trim-Decorating-front-door-spot-filling


Step 5

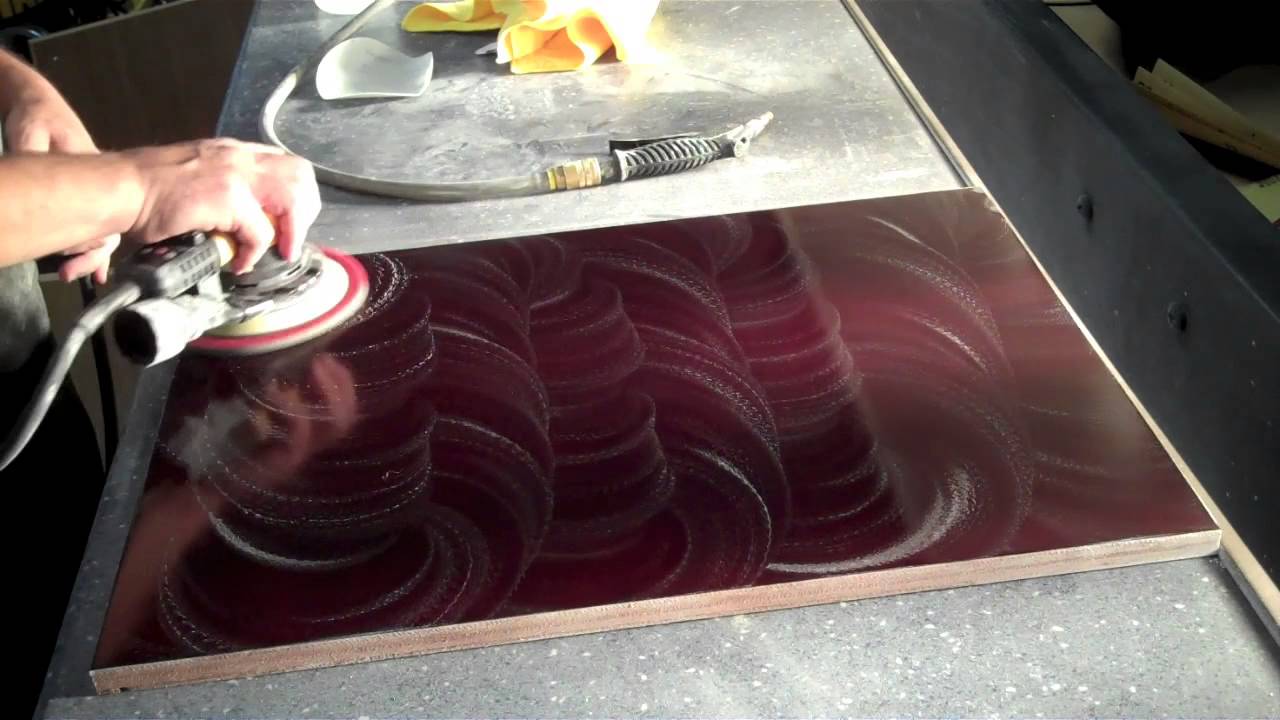
With the door spot-filled, we’re now ready to apply the first coat of Gras a Lacquer.

What is Gras a Lacquer? As its French name betrays, this product — an oil-based high gloss surfacer — is made on the other side of the English Channel by Toupret.

The job Gras a Lacquer performs so effectively is to act as a micro-level filler, levelling the timber to a perfectly glass-like smoothness. It has a wonderfully rich, smooth texture — a pleasure to work with.

We applied a thin coat, waited a couple of hours, sanded with 320 grit Abranet then sanded with 1,000 grit Abranet.

Trim-Decorating-Gras-a-Lacquer-application


We then applied a second coat, and this too was sanded with 1,000 grit.

Trim-Decorating-front-door-Gras-a-Lacquer

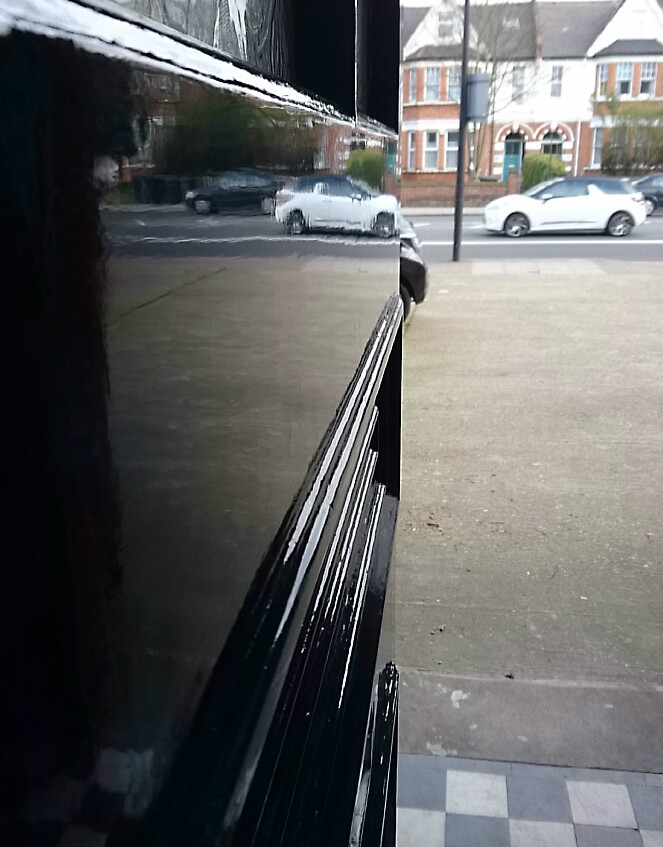
We pause to consider the result of the work so far: the flush surfaces of the door are perfectly, wonderfully smooth.
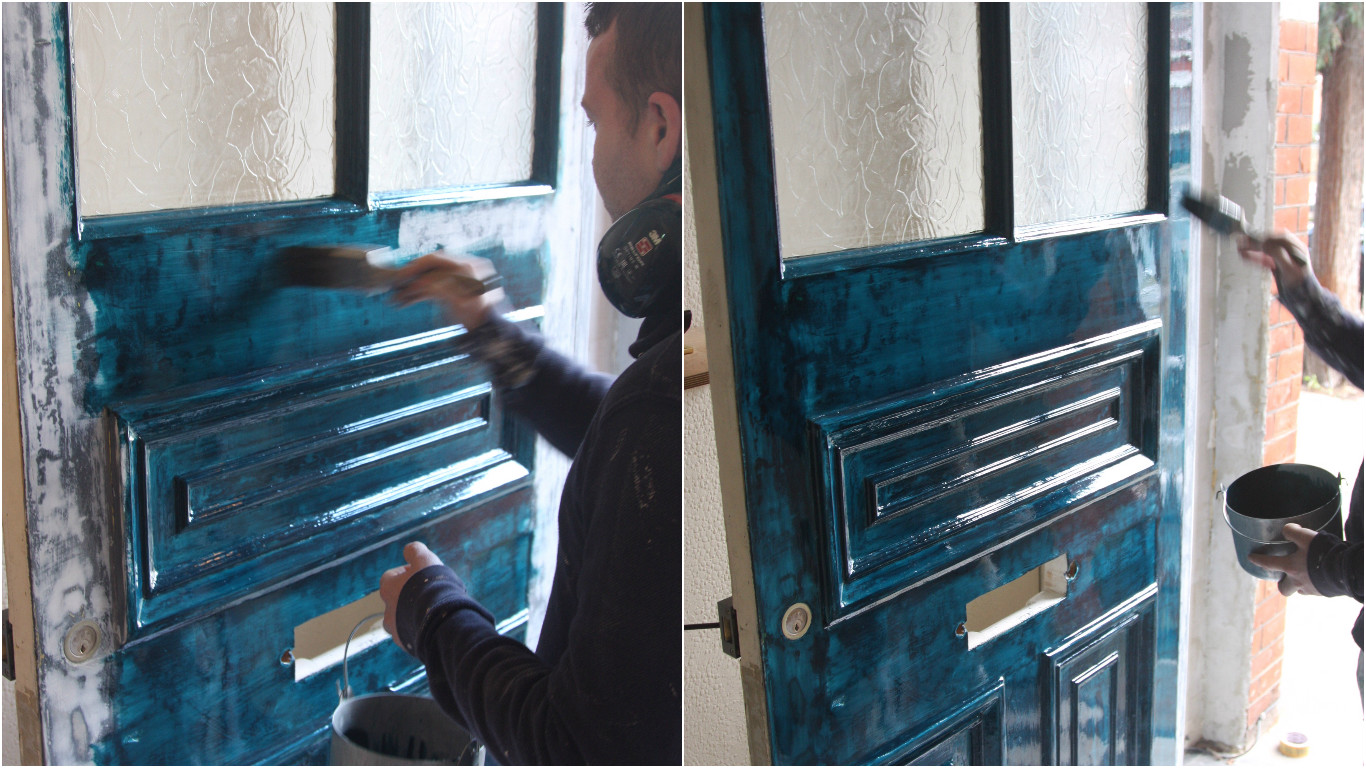
 

Step 6

The time for gloss has finally arrived: Sikkens Rubbol XD Gloss, tinted to Basalt by Little Greene. by Holman Paints.

To ensure the optimum performance and finish we added 15% Owatrol oil to the paint.

We weighed the paint and the Owatrol — in a traditional metal kettle — on digital scales to ensure an accurate mix.

Trim-Decorating-XD-gloss-with-Owatrol


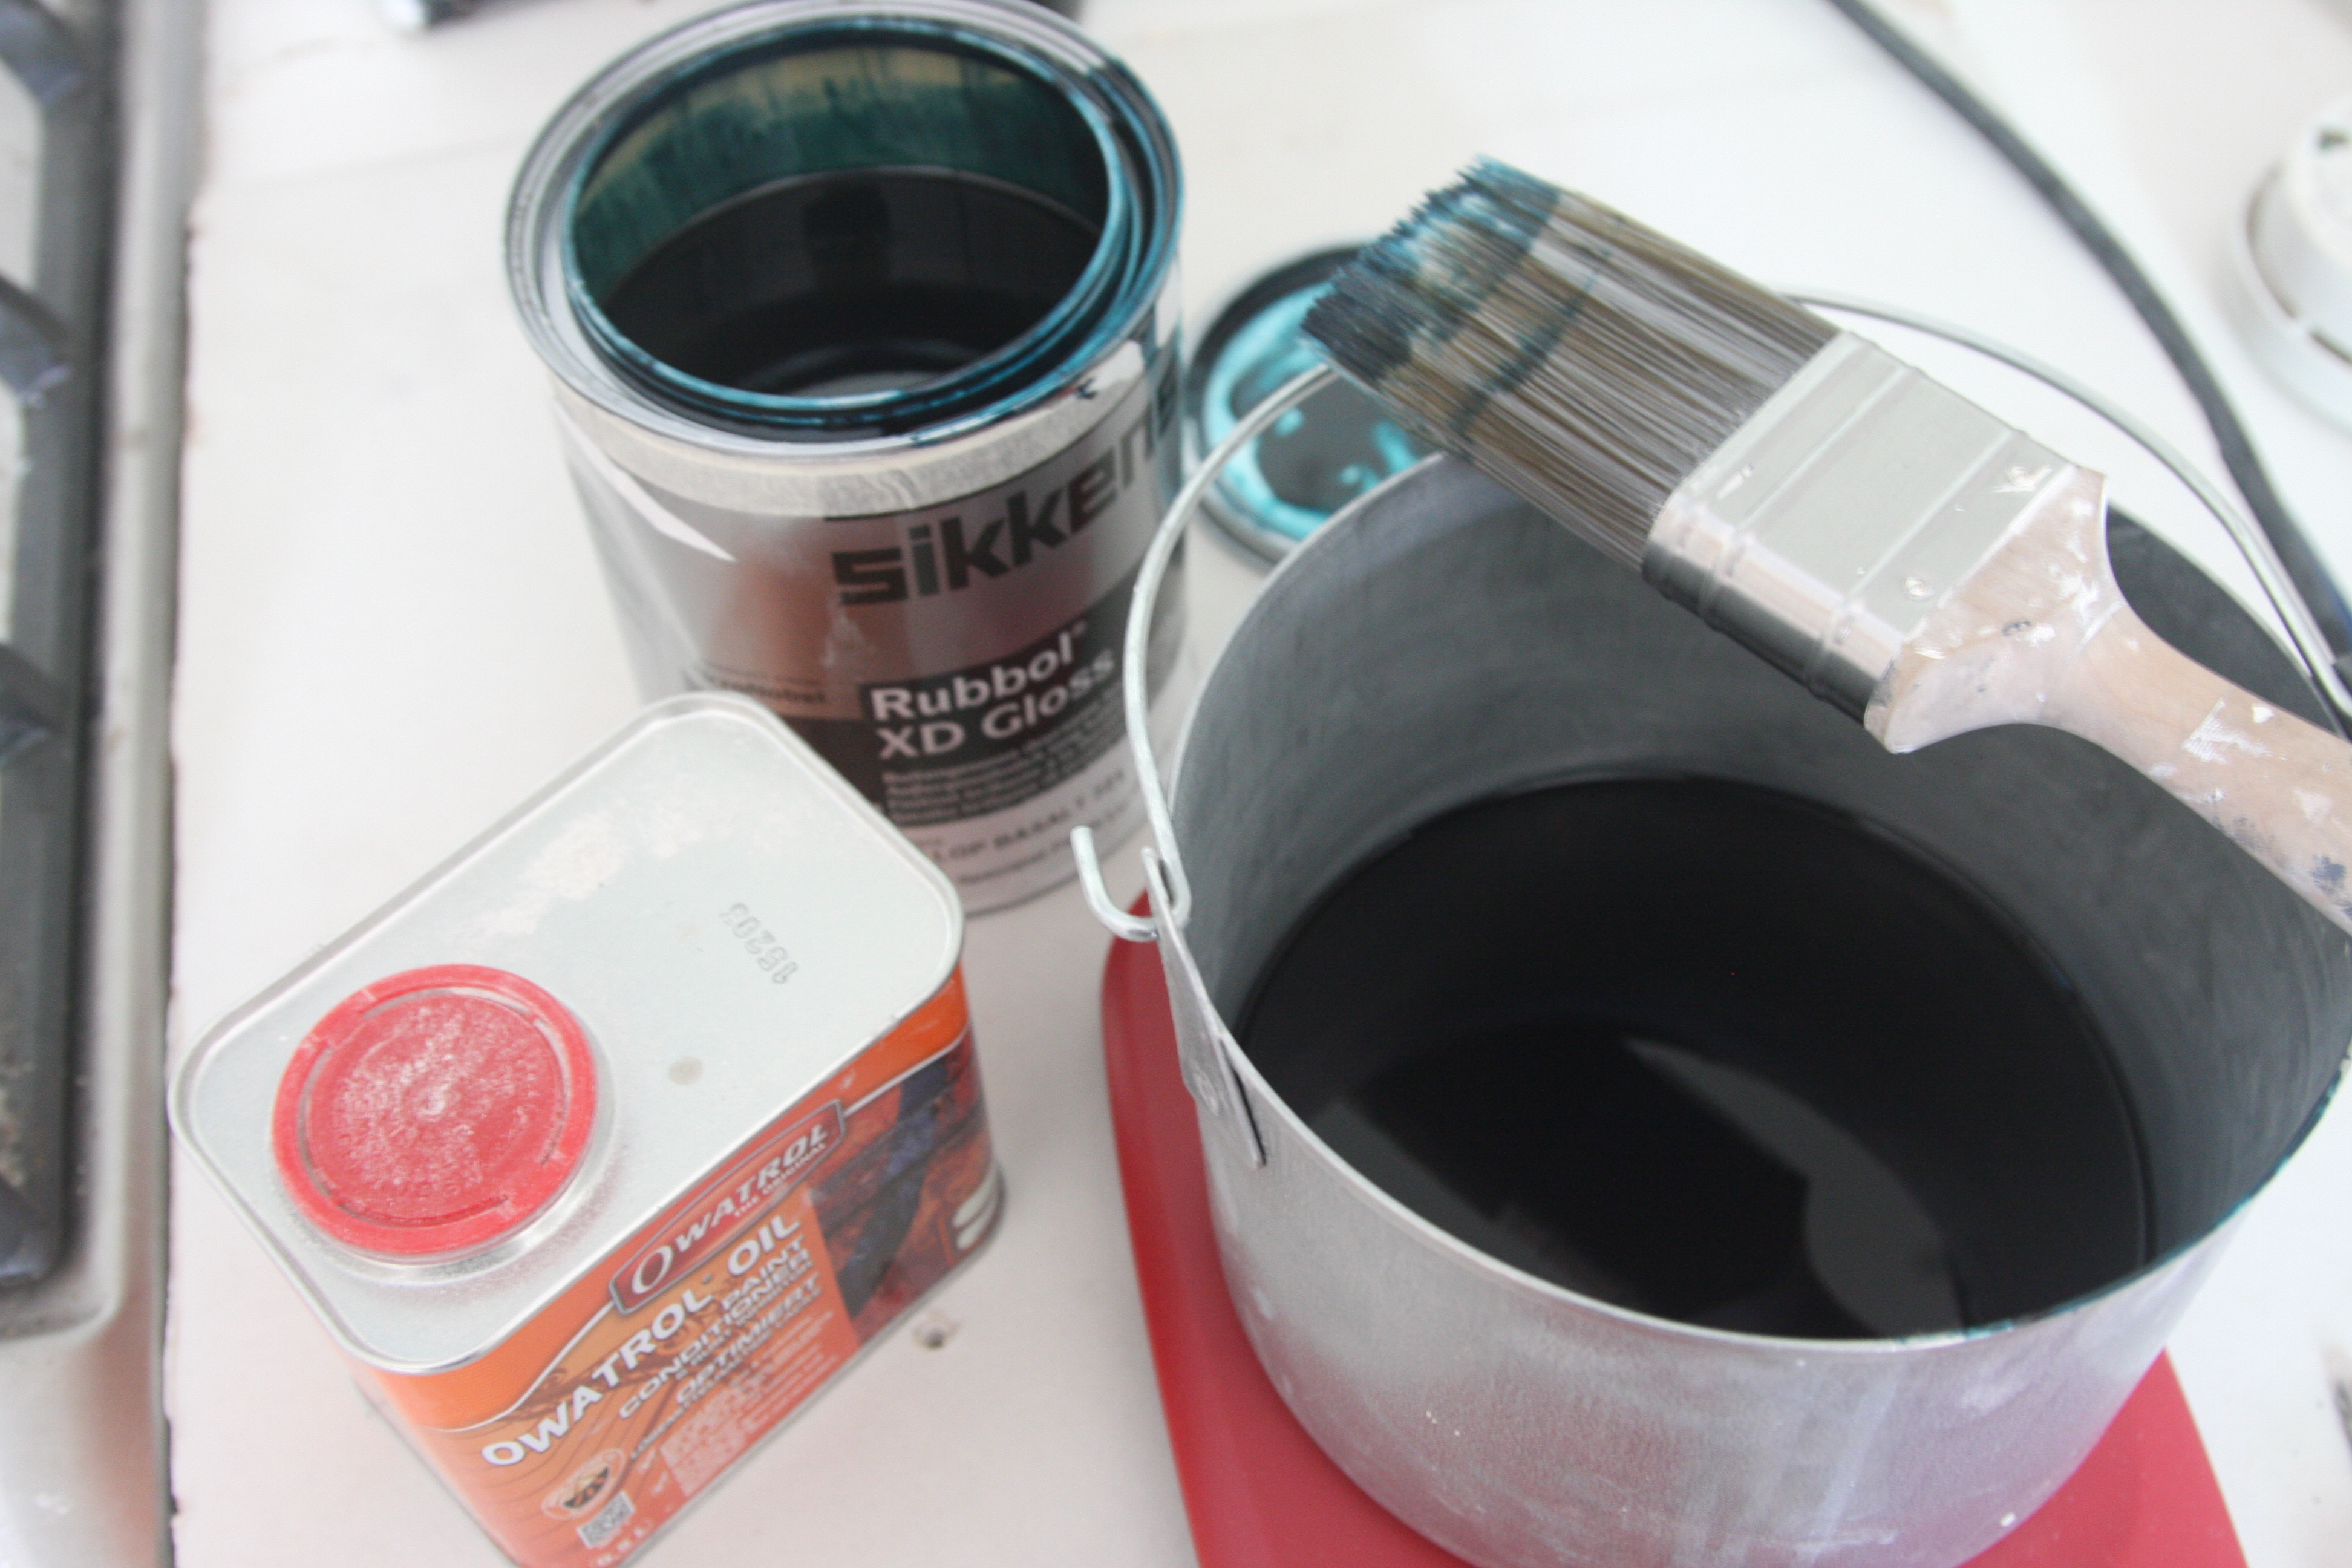
After ensuring the Owatrol was fully mixed into the gloss, David applied the first coat…

Trim-Decorating-XD-gloss-on-front-door


Step 7 

When the gloss had dried, we sanded it with 1,000 grit Abranet and applied the second coat of gloss … this was repeated, then the third coat was applied.

[Lesson: next time, we will tint or stain the Gras a Lacquer with some of the gloss — as we were applying a dark colour on top of it, we needed three coats of gloss .. this could be cut down.]


The result

We were delighted.

The client was delighted.

Do contact us if you’d like the Trim finish on your front door…

Trim-Decorating-front-door-completed


How we paint a front door: no.2 Read Post »

How we paint a front door: no.1

The first in our series of detailed posts on preparing and painting a front door to a high standard — read them for inspiration and guidance, or to gain an insight into our working methods.


Introduction

Everyone has high expectations for the impact a well-painted front door can make. We favour satin and eggshell finishes for interior woodwork, but seek the highest gloss available for exterior woodwork, particularly the front door itself.


The candidate

This door is a large Edwardian London classic, dating from the early years of the 20th century. Despite some of the original stained glass having gone astray as the decades passed, the joinery is still in fantastic shape. We’ve previously encountered front doors a fifth of the age in much worse condition.

Trim Decorating -- Edwardian front door redecoration


Step 1

While the underlying condition of the door itself was excellent, the condition of the paintwork — a faded black gloss — was only fair. Brushmarks were conspicuous, perhaps evidence of a poor quality brush having been used; limited prep of the underlying surface also appears to have been a factor.

The letterplate and large doorknob were removed and the whole door and frame were sanded thoroughly: 80-grade Abranet for the stiles and rails, 80-grade conventional sandpaper for the mouldings.


Step 2

The door was dusted down, and Bonda Decor Fill was used to fill all visible surface damage; the filler was then sanded flat. Next, a rag dampened with white spirit was used to clean the door thoroughly.

Trim Decorating -- Edwardian front door redecoration


Step 3

We are now ready to apply the primer: we selected Sikkens Rubbol BL, a waterborne product with fantastic opacity. We ordered this from Holman Paints, who tinted it correctly for our chosen top coat, Basalt by Little Greene (also in a Sikkens finish, which we’ll discuss in the next post).

If you’re tackling a front door for the first time in a while, you can easily check online for guidance about the order in which to carry out the painting.

Trim Decorating -- Edwardian front door redecoration

Summary

— Sand the door thoroughly, clean the door

— Apply 2-part filler, sand back, clean the door

— Apply primer

We’ll be back soon with the next steps…

How we paint a front door: no.1 Read Post »

Harris Icon paint brushes

A few months ago, I insisted — perhaps a little imperiously — that in considering what paint brushes to buy, it was high end or the highway. Purdy, Wooster, Corona: these are your friends, not the ne’er do wells to be found in multipacks in Poundland.

Well, while Poundland and their ilk remain firmly off-limits, it seems that David has something interesting to add to this debate. He writes:

“The Harris Icon Soft Tipped Paint Brushes from B&Q were particularly good when used in oil. I bought these as emergency brushes as I had left my good Purdys behind. Whilst being soft tipped brushes, I found they retained a certain uniform stiffness when applying paint — this was great for bristle control and accuracy.” 

(David implies a sound practice which you, too, will soon follow: matching different paint brushes to different types of paint.)

So there you have it: an affordable, if not filthy cheap, option of excellent quality. 

Harris Icon Brushes

Harris Icon paint brushes Read Post »

Paint buffing and polishing techniques

David recently began exploring the rather extensive range of techniques and products available for polishing paintwork. We’ve been surprised at just how far you can go with this stuff…

Mirka-polishing-a-timber-panel

Put simply, you start with a standard gloss finish — we’re thinking of a front door, here — then set about working your way up through the grades with specialist, super-high-grit abrasives. Polishing fluids are used next.

We’re going to be making these high-end techniques a big part of a competition we’ll be running for certain south Londoners in February 2016.

We’ll be posting more news soon…

Paint buffing and polishing techniques Read Post »

How to decorate no.6: Use Frog tape

There are big differences between the widely available budget masking tape — which can be picked up for less than £1 a roll — and the far more expensive professional versions, such as Frog Tape.

As well as its paint-blocking properties, Frog Tape is also a winner for its lower tack level, allowing it to be used where strong adhesion could damage the surface. It’s worth noting that one of the main properties of all budget masking tapes is their very high adhesion level — this can be damaging, particularly to varnished surfaces.

Each has its place: always have both.frogtape-multi-surface-uk

How to decorate no.6: Use Frog tape Read Post »